
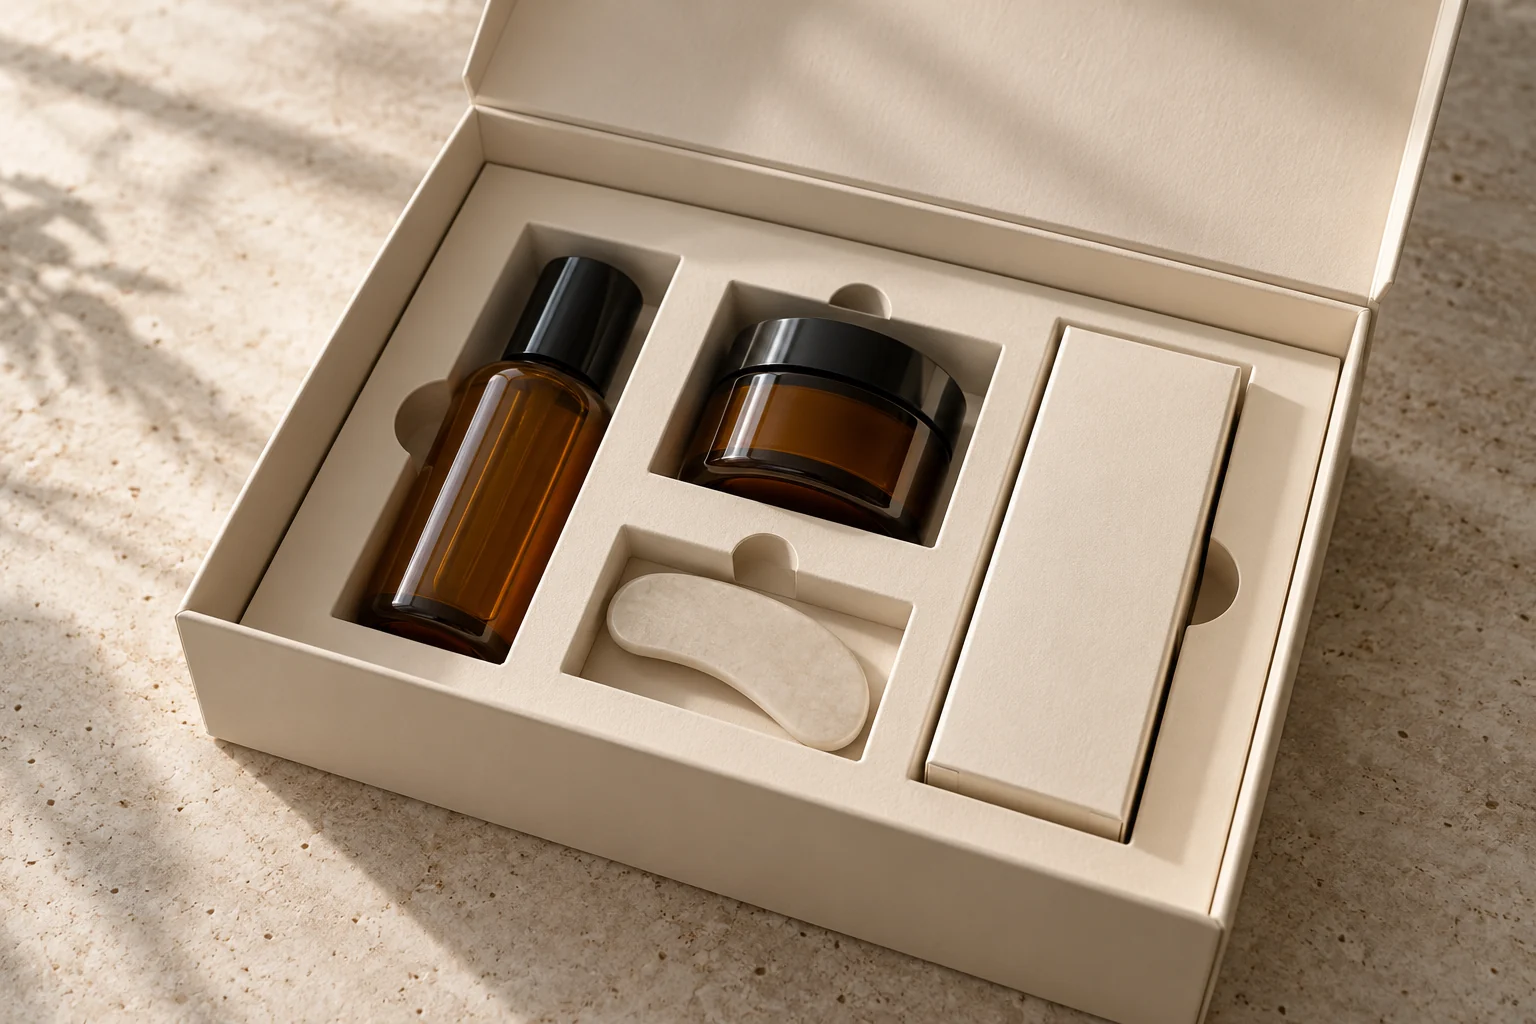
A good insert is fitted to the product and the way it will be packed.
Custom packaging inserts are interior components designed to position, separate, present or support products inside a box. For a gift set, the insert has to do more than look tidy: it should keep items from colliding, make the assortment clear at first opening, and let the packer load each item consistently.
That is why custom gift box inserts should be developed alongside the outer box. A cavity that looks perfect in a drawing can be too tight around a pump, awkward to lift from, or too shallow once the lid closes. This guide gives buyers a practical way to brief, sample and review the whole packaging system.
1. Decide what each insert component must do
Write down the primary job before discussing shape or finish. An insert can hold a bottle upright, separate glass from a ceramic accessory, stop a small carton sliding, support a product during presentation, or create a clean visual layout. Some packages also include a separate promotional card or instructions. These are different functions: a message card does not replace a retaining insert.
Industry guides commonly distinguish protective box inserts from communication pieces such as thank-you notes and product information. PakFactory’s packaging insert overview is a useful starting point for that distinction and for comparing common insert families. In a project brief, list the function of every component so appearance does not obscure the requirement.
- Position: keep each SKU in its intended location and orientation.
- Separate: stop items, caps or fragile finishes rubbing against one another.
- Support: distribute contact across suitable product surfaces rather than concentrating force on a weak point.
- Present: reveal the set in a clear order when the box opens.
- Enable handling: make loading and removal repeatable for both packers and recipients.
2. Build the insert brief from actual products
Measure the packed item, not only the nominal product body. Include caps, pumps, protruding tabs, lids, protective sleeves and any accessory that ships in the same box. Record weight, fragile areas, surface finish, preferred orientation and whether different SKUs share the same insert.
Separate the product’s required usable space from the finished box’s external dimensions. The lid, walls, wrap, partitions and insert all consume room. If you need a refresher on measurement conventions, see our guide to how to measure a box; for a multi-item set, make a simple plan view that labels each SKU and its orientation.
Product-fit worksheet
- SKU name, packed length × width × height and packed weight
- Cap, pump, handle or other protruding components
- Fragile zones, scratch-sensitive finishes and leak risks
- How the item should face when the box opens
- Which product must be lifted first and who packs the set
- Whether the assortment changes between orders or gift-set versions
3. Match the insert construction to the job
Material selection is a trade-off among shape, restraint, presentation, printing, pack speed, price and destination. The following options are a decision framework—not a substitute for confirming what a supplier can source and convert for your project.
Folded paperboard
Useful for organized gift sets, lightweight products, dividers, sleeves and branded interiors. Evaluate fold geometry, board stiffness, surface contact and whether the insert holds its shape after repeated handling.
Corrugated partitions
Can add separation and structure for some heavier or shipping-oriented packs. Check flute direction, exposed edges, print needs, overall size and whether the finished presentation suits the brand.
Other formed materials
Molded fiber, foam or plastic may suit certain shapes or cushioning requirements. Compare tooling, surface finish, material documentation, disposal options and the whole package—not just the insert in isolation.
A visually premium box does not automatically need a complex insert. For paper-forward gift packaging, a folded support or partition may meet the presentation goal; a fragile item sent through parcel delivery may need a more protective complete pack. Explore rigid gift box formats, drawer boxes and magnetic gift boxes by opening experience, then check how the insert works inside the chosen structure.
4. Design for retention and easy removal
A cavity that grips too tightly can make removal frustrating or transfer pressure to a cap, glass shoulder or decorated surface. A cavity that is too loose allows movement. Check both outcomes using the real packed item: place it in the intended orientation, close the box fully, turn the pack through expected handling positions, then lift the item out the way a recipient would.
Useful design details include finger notches, lift tabs, accessible edges and a clear loading direction. Keep support away from delicate features such as pump heads or thin glass transitions. For a multi-product gift set, make sure the divider stays in place and that one item cannot knock against another when the box is handled.
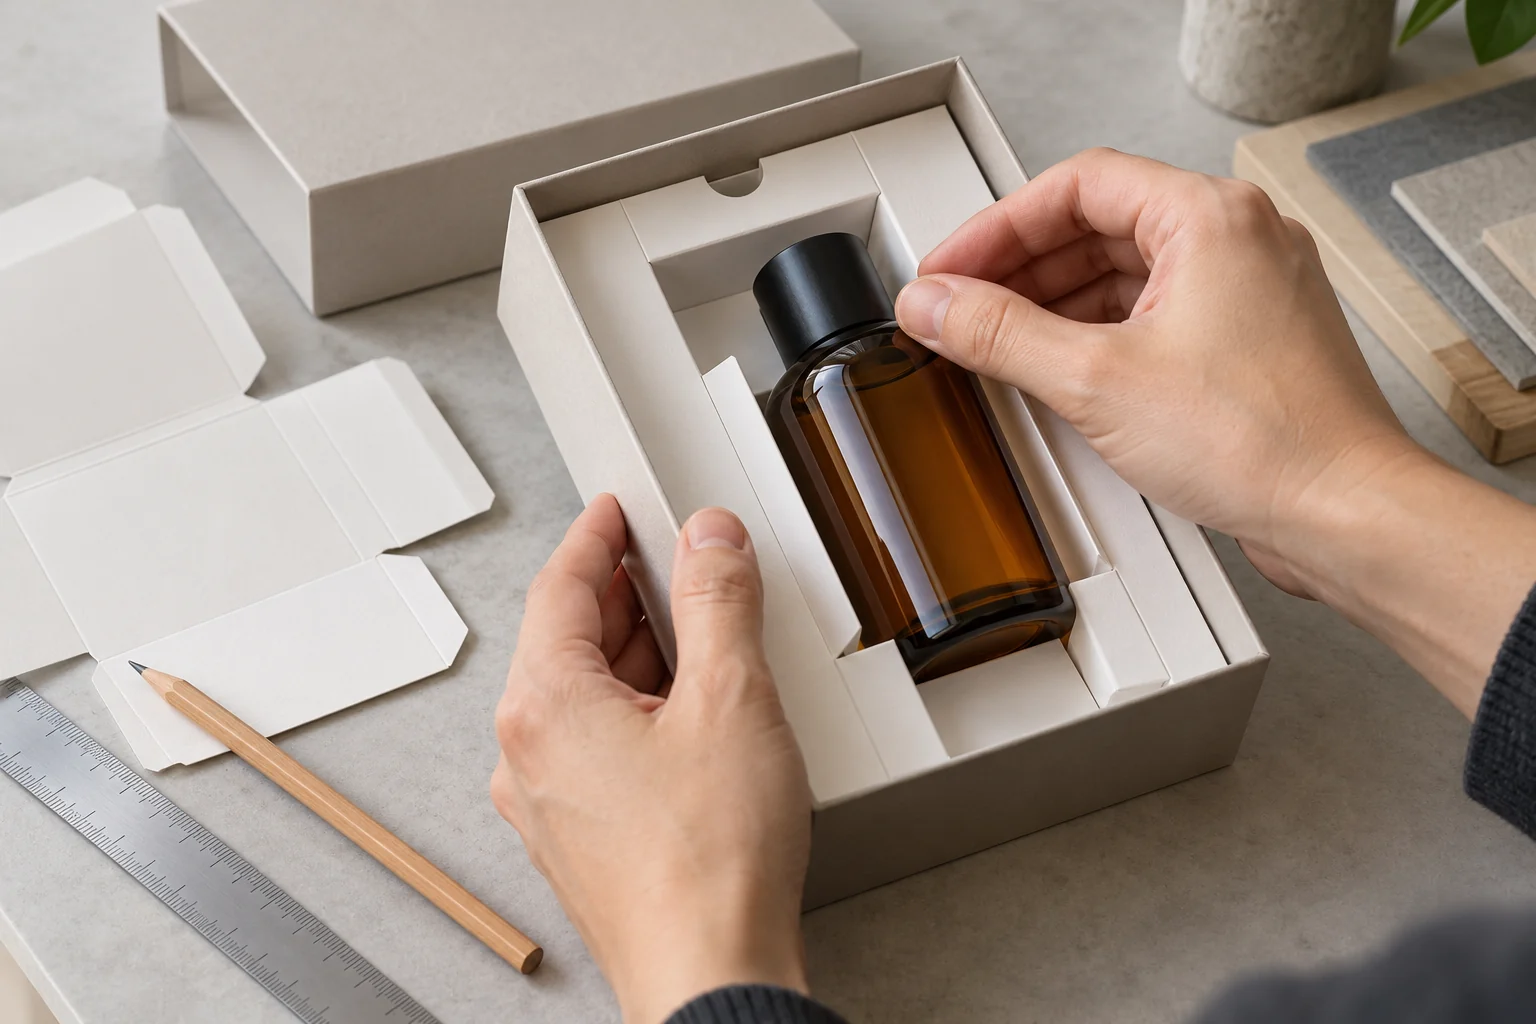
5. Coordinate insert, box size and pack-out
The insert changes the usable interior height and footprint, and may affect the outer box, shipping carton and packing time. Confirm that the lid closes without pressing on the products, the assembled insert sits flat, and the components can be packed in a repeatable sequence. Then review the overall dimensions and cost drivers with the supplier; our guide to custom gift box cost explains how size, structure, finish and quantity influence a quote.
For sets with variable contents, decide whether each assortment needs a dedicated insert or whether one modular layout can accommodate the range safely. A single insert used across SKUs may simplify inventory, but only if the fit and presentation remain acceptable for every configuration.
6. Approve a real sample before production
Review a physical sample with production-representative products whenever possible. A digital rendering can show the general arrangement, but it cannot confirm friction, insertion force, fold recovery, product movement or the feel of removal. Ask the team who will pack the order to run the pack-out too.
- Every product fits in the correct orientation without force.
- Products stay separated and do not hit one another when handled.
- The box closes fully and does not press on the contents.
- Products can be removed without damaging the insert or item.
- The insert assembles and loads consistently at the expected production pace.
- The complete packed box is checked against the agreed handling and delivery plan.
When a set will ship, select testing for the actual distribution system and package configuration. The International Safe Transit Association (ISTA) procedure directory describes procedures ranging from early design screening to general simulation tests for particular shipment types. Ask a qualified lab which current procedure and scope fit your route; passing an insert-only fit check is not the same as validating transit performance.
What to include in a supplier request
Send a complete brief so the supplier can assess the box and insert together:
- Product list, packed dimensions, weight, photos or physical samples
- Box style, target internal space and any external-size constraints
- Insert function, material preference, print and finish requirements
- Retail handoff, parcel shipment or other distribution route
- Pack-out method, number of operators and target order quantity
- Sample deadline, launch date and written approval criteria
How Leo Paper Box can help
Leo Paper Box develops custom paper packaging for brands and buyers, including rigid, magnetic, drawer and other gift box formats. For a gift set, share the products and their packed dimensions so the box structure and paper-based insert can be reviewed as one system. Material and construction options should be confirmed against your product, quantity and delivery requirements.
Review our custom paper packaging capabilities and factory and quality process. If you are still comparing formats, the guides to gift box MOQ and magnetic versus rigid boxes can help you prepare. When your brief is ready, send the requirements for a sample or quote.
Sources and further reading
- PakFactory, “What Are Product Packaging Inserts – The Master Guide” — overview of protective box inserts and communication inserts, with examples of common material categories.
- International Safe Transit Association, “Test Procedures” — official directory describing the purpose and scope of ISTA procedure families.
Note: This guide is for packaging planning and does not guarantee product protection, recyclability, carrier acceptance or compliance. Confirm specifications, material availability and any distribution testing with the packaging supplier and qualified test lab.