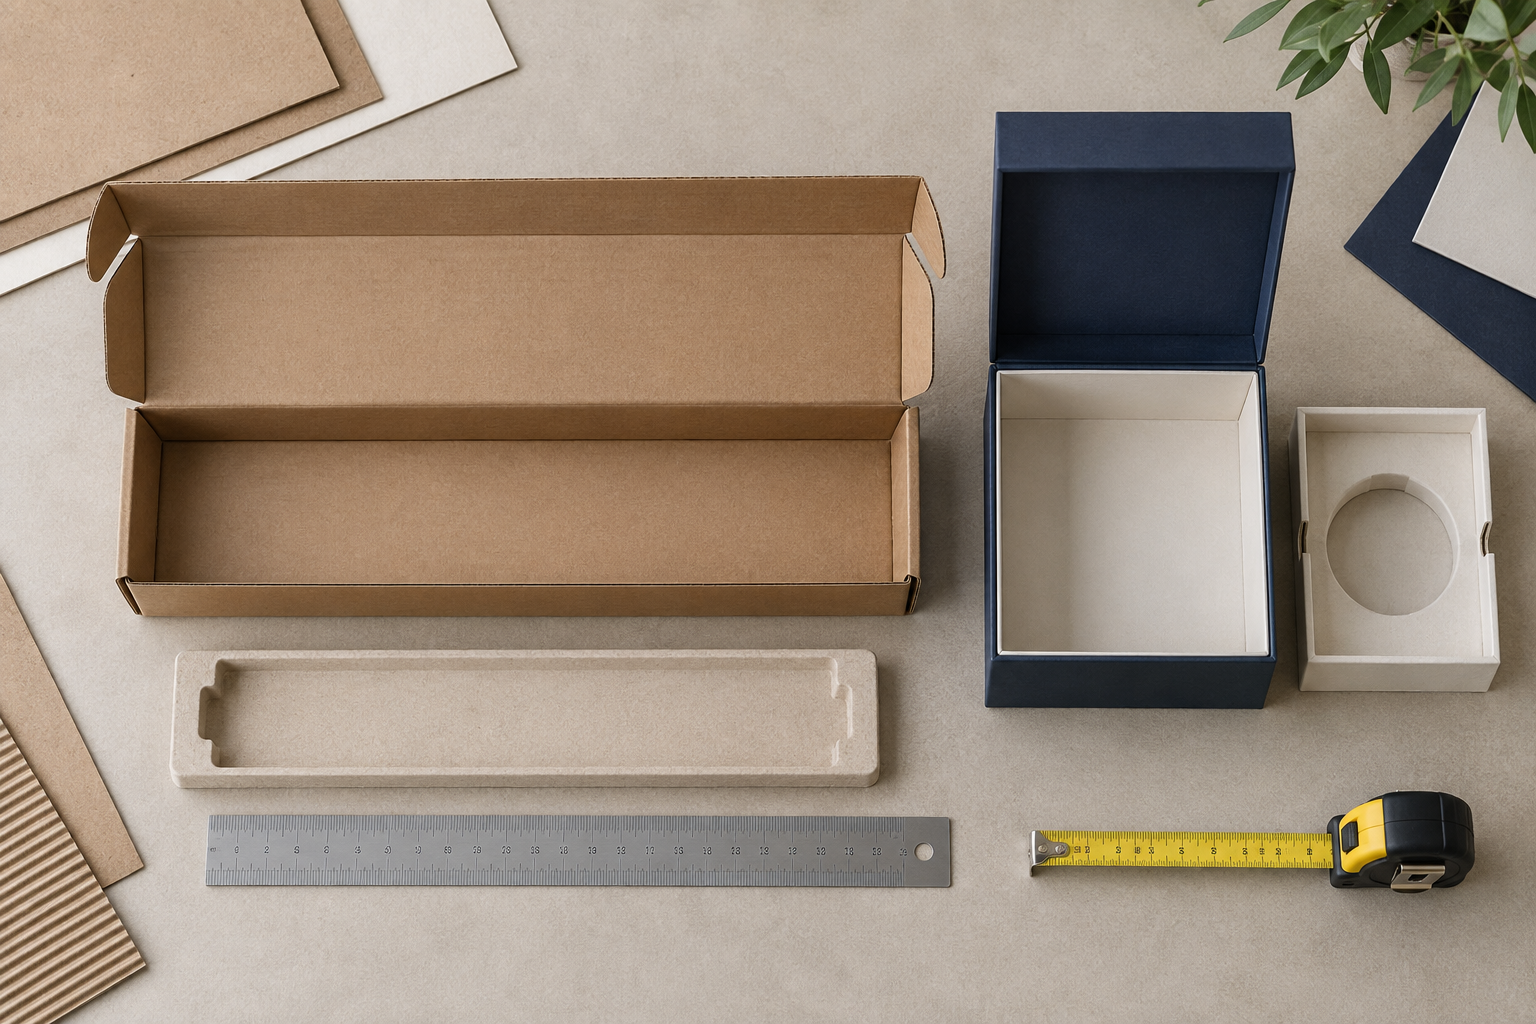
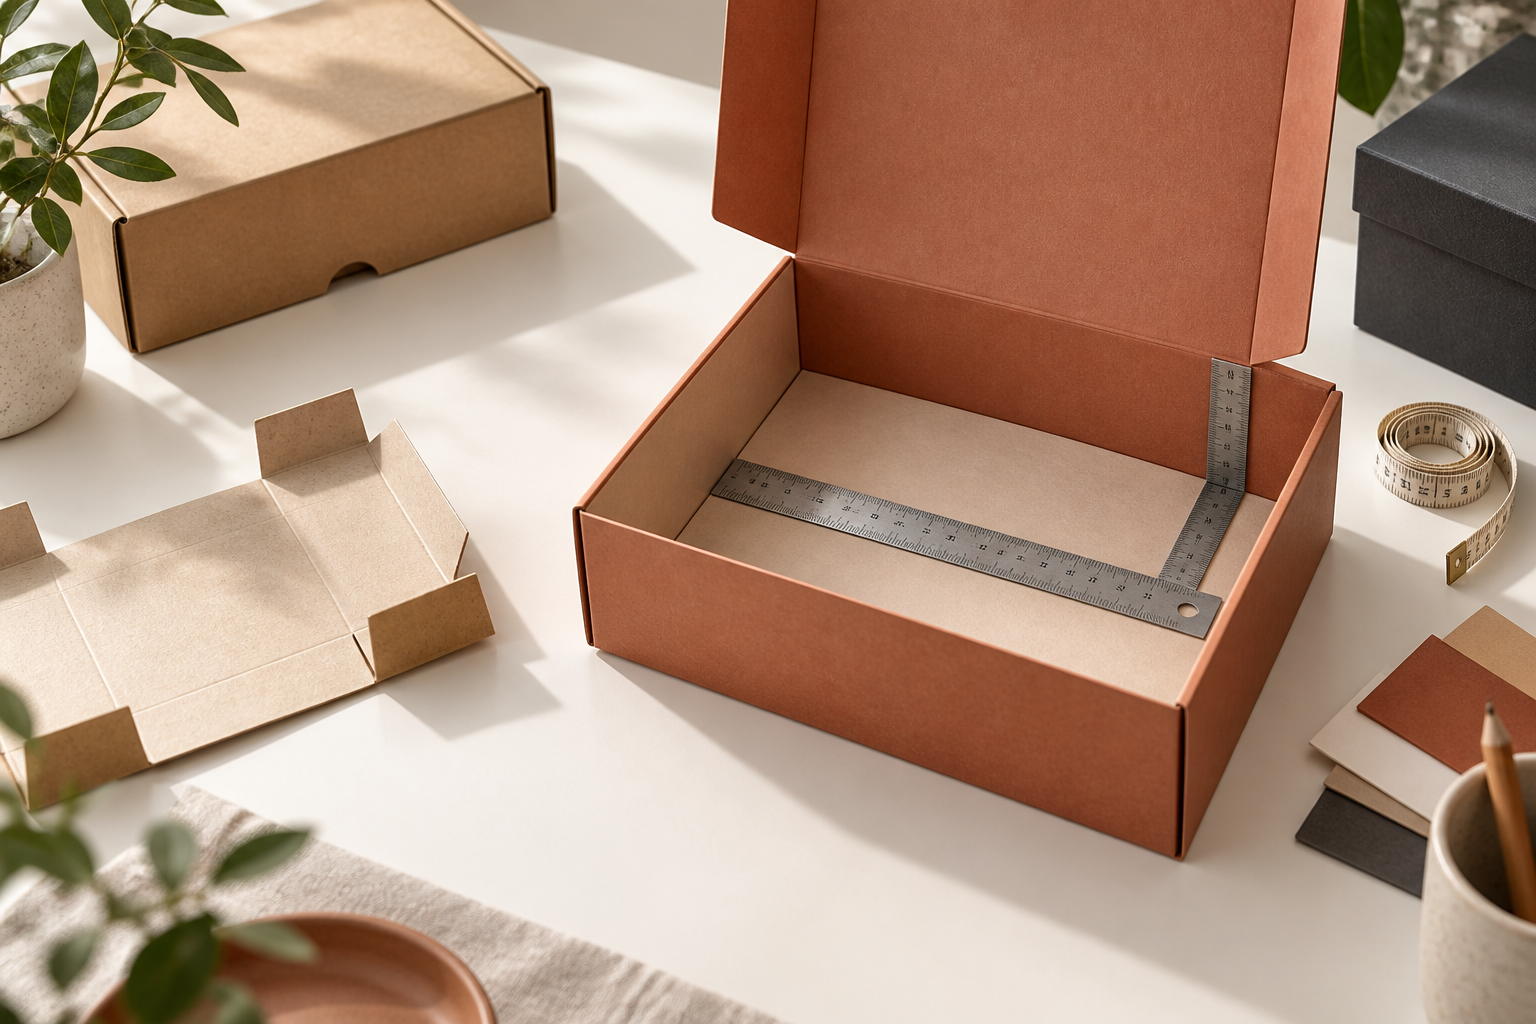
Accurate box dimensions make the next packaging decision easier.
Knowing how to measure a box is useful for product packaging, shipping, storage and supplier communication. A few millimeters can affect product fit, insert clearance, board selection, shipping cost and whether a package closes properly.
For a custom packaging project, record the product first, then define the required box dimensions. This guide explains how to measure length, width and height, when to use internal or external measurements, how to calculate box volume and what information to send to a packaging manufacturer.
Quick answer: how are box dimensions written?
The standard format is Length × Width × Height, often shortened to L × W × H. Some teams use “depth” instead of “height,” especially for a mailer or carton, so define the terms in your brief before production.
- Length: the longer side of the base when viewed from above.
- Width: the shorter side of the base when viewed from above.
- Height: the vertical distance from the base to the opening or lid.
The order matters less than using it consistently. If you describe a box as 30 × 20 × 10 cm, also state whether that means internal or external dimensions and identify the unit.
What tools do you need?
A steel ruler works well for small rigid boxes and folding cartons. A tape measure is useful for larger cartons, while a caliper can help check board thickness, product diameter or narrow clearances. Record measurements in millimeters or centimeters, and avoid mixing units in the same drawing.
Measure on a stable surface. Keep the ruler square to the edge instead of measuring diagonally, and take a second reading when the result will drive a dieline, insert or shipping carton.
Step 1: measure the internal length
Open the box and measure the longest usable side of the base from inside wall to inside wall. Do not include the thickness of the side panels, flaps or any space outside the actual cavity.
For a box with a fitted insert, measure the available space above the insert or measure the insert cavity itself. A product may fit inside the outer box but fail to fit once the tray, divider or protective wrap is installed.
Step 2: measure the internal width
Measure the shorter side of the usable base, again from the inside surfaces. If the box is tapered, curved or has rounded corners, record the narrowest practical width rather than the widest point.
For cylindrical products, measure the diameter and add the required protection around it. For bottles or jars, also check whether the cap, pump or shoulder needs a separate clearance zone.
Step 3: measure the internal height
Measure from the inside base to the inside top of the closed package. For a lid-and-base box, specify whether you need the base depth, the lid depth or the total usable internal height. For a mailer box, include the space occupied by the closing flaps and any paper insert.
Height is particularly important for tall products, stacked items, gift sets and subscription assortments. If the contents have different heights, measure the highest point and decide whether the top surface needs a protective pad or shaped insert.
Internal versus external box dimensions
Use internal dimensions when the goal is product fit. Use external dimensions when the goal is a shipping label, pallet plan, shelf footprint or carrier calculation. These are not interchangeable.
External size includes paperboard or corrugated board thickness, folds, wrap and sometimes the lid or closure profile. If you send only outside measurements for a custom box, the manufacturer may produce a cavity that is smaller than your product requires.
The difference is more noticeable with corrugated packaging because the fluted board adds thickness to the walls. A rigid box wrapped over board also needs the construction and wrapping layers considered. State “internal” or “external” beside every dimension in your brief.
How to measure different box styles
The same L × W × H notation can describe many formats, but the measuring points change with the structure.
- Mailer box: measure the usable interior after the side flaps and locking tabs are folded into position.
- Lid-and-base box: record the base cavity and lid clearance separately if the lid overlaps the base.
- Drawer box: measure the inner tray cavity, then check the sleeve opening and pull clearance.
- Magnetic box: measure the base cavity, lid depth and closing area; check the magnet and insert positions.
- Window box: measure the product cavity and the area needed for the window, tray or food-safe inner layer.
- Tube or round box: record diameter and height rather than forcing a rectangular dimension description.
Leo Paper Box develops custom paper boxes, custom mailer boxes and rigid gift boxes around the product and the required opening experience.
How to calculate the volume of a box
Once the three dimensions are confirmed, multiply them using the same unit:
Length × Width × Height = Box volume
For example, a box with internal dimensions of 30 cm × 20 cm × 10 cm has a theoretical volume of 6,000 cm³. Volume is helpful for comparing storage and shipping scenarios, but it does not tell you whether the product will fit safely. Shape, orientation, insert thickness and empty space still need to be checked.
For parcel shipping, carriers may also use dimensional or volumetric weight based on the external size of the fully closed carton. Ask the carrier for the current divisor and service rules, then compare the packed carton rather than only the empty box.
Measure the product before designing the box
A common mistake is measuring an existing box and assuming it is the right size for a new product. Start with the item or complete gift set. Record each product’s length, width, height, weight, orientation, fragile areas and any protective wrap.
Then decide the required clearance. A rigid product may need only a small controlled gap, while glass, electronics, cosmetics or food products may need a fitted tray, divider or cushioning zone. The box interior should be large enough to close without pressure but small enough to prevent movement.
Account for inserts and packing materials
When an insert is part of the package, calculate the usable cavity after the insert is installed. Include the thickness of paperboard, molded fiber, corrugated supports, tissue, foam alternatives or protective pads in the dimensional plan.
For a multi-product gift set, draw or list the packing order. A product may need to be placed before the divider is locked in, or a card may sit above the insert rather than beside the products. The correct measurement is the one that reflects the finished packed package, not an empty sample.
Our guide to subscription box packaging shows why repeatable inserts and right-sized mailers matter for recurring shipments.
Common measurement mistakes to avoid
- Recording length, width and height in a different order on different documents.
- Measuring the outside when the manufacturer needs the product cavity.
- Forgetting board thickness, wrapping paper or insert depth.
- Measuring the widest point instead of the narrowest usable opening.
- Ignoring the lid, locking tab, sleeve or drawer clearance.
- Using a product dummy that does not match the final weight or surface.
- Sending dimensions without units, tolerances or a simple orientation note.
- Approving the dieline without testing a closed, packed sample.
What to include in a packaging dimension brief
A supplier can respond more accurately when the measurement information is complete. Include:
- Product or gift set dimensions and weight.
- Required internal box dimensions, with L × W × H clearly defined.
- Whether any dimensions are internal, external or nominal.
- Box style, opening direction and closure requirements.
- Insert, divider, card, tissue or protection requirements.
- Shipping route, storage conditions and master-carton needs.
- Target quantity, sample timing and production deadline.
Photos, a product drawing or a physical sample can resolve orientation questions that numbers alone cannot. If the first quote depends on an assumption, ask the manufacturer to identify it before the sample is approved.
Confirm dimensions through sampling and testing
Measurements are a starting point, not the final proof. Request a blank structural sample or printed prototype and place the actual product inside. Check fit, movement, closure, opening force, insert removal, edge protection and the appearance of the packed set.
For shipping packages, test the closed carton through the intended handling route. A box that looks correct on a table may need a stronger board, better corner protection or a different external size after compression and drop testing. Read our guide to custom gift box cost when comparing the effect of structure, board and quantity on the quote.
How Leo Paper Box can help
Leo Paper Box helps brands, retailers, gifting companies and distributors turn product measurements into manufacturable paper packaging. We can compare mailer, rigid, magnetic, drawer and folding carton structures, then develop inserts around the finished product set.
Review our packaging capabilities and factory and quality process, or send the dimensions, quantity and delivery plan through the quote request page. A clear measurement brief helps the first sample answer the right questions faster.